Buying guide
Interlocking Floor Tiles Buying Guide (2027): Material, Thickness, Density, and Room Math
How to buy interlocking floor tiles: choose material by load, pair thickness with density, measure packs against real rooms, and plan borders, cuts, and spares.
Choose the material by the load, not the photo
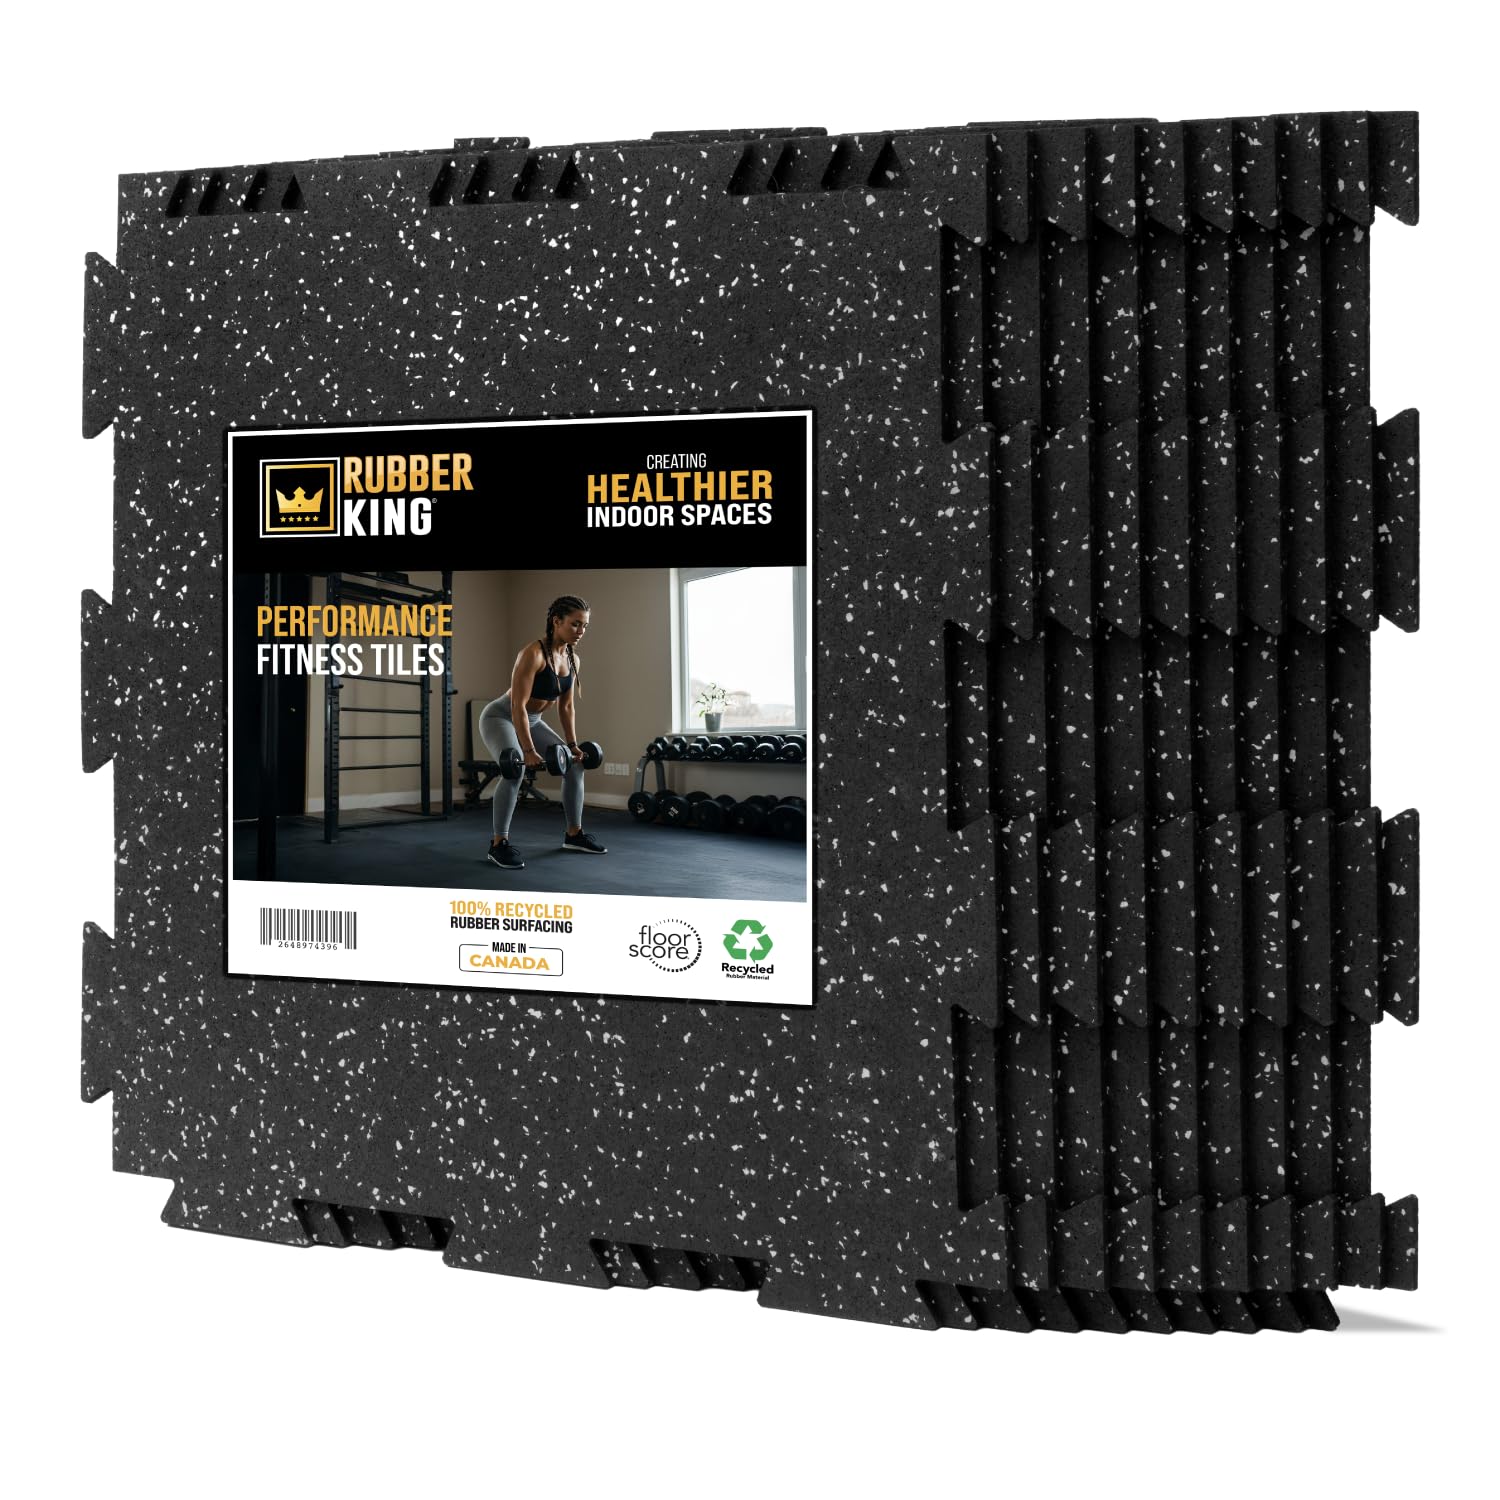
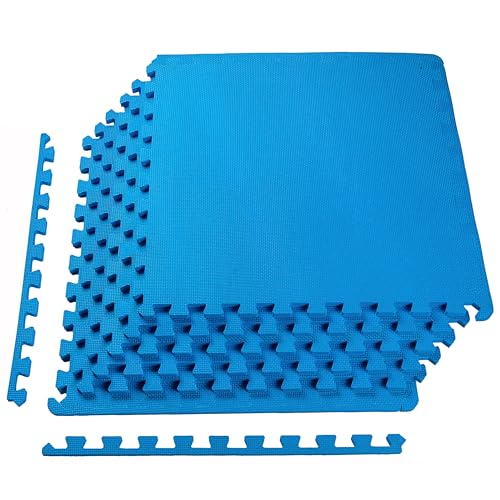
Write down the heaviest thing that will stand, sit, or land on the floor, and for how long. Bodies and light gear point to EVA foam. Stored dumbbells, benches, and racks point to dense rubber. Vehicles and rolling loads point to hard polypropylene tiles. Every disappointment in this category is a material mismatch, and every material in this guide is excellent at its own job.
Pair thickness with density
Thickness tells you how far the surface can compress; density tells you how much force it spreads before bottoming out. Floor comfort wants thickness. Load protection wants density. A 1 inch soft foam tile and an 8 mm dense rubber tile are both legitimately described as gym flooring, and they share almost no use case beyond that label.
Top picks from our research
Full ranked list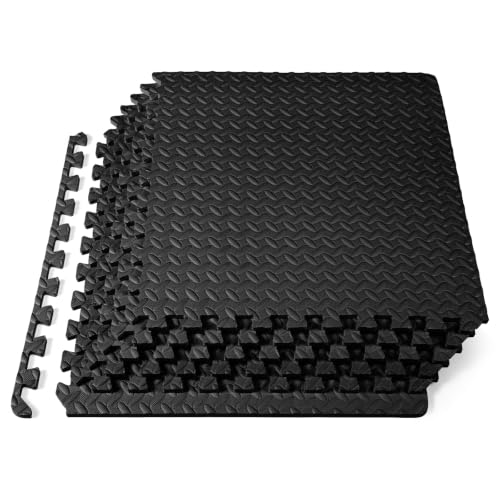
Do the room math before the pack math
Measure the room, sketch the tile grid, and count cuts at doors, posts, and closets. Then add 10 percent for cuts and spares, and order it all in one batch. Packs are priced to look cheap at 12 or 24 square feet; the honest comparison is total delivered cost for your measured room, borders included.
Plan the install pattern
Wall-to-wall installs are the most stable because the room frames the floor. Island installs need bound edges: tape, borders under equipment, or a heavy zone pinning the seams. Decide the pattern before ordering, because border pieces, ramp edges, and transition strips are cheaper in the first order than as an afterthought.
Two pattern decisions repay attention before the first tile is cut. Seams should not run under the feet of the heaviest fixed equipment, because a seam under a rack foot is where lifting and creep begin; shifting the grid half a tile so feet land mid-tile costs nothing at sketch stage and a Saturday later. Doorways deserve their own line in the plan: a ramped or transition edge where the gym floor meets the hall prevents the curled corner that every island install eventually grows, and ordering that edge with the tiles, as this section urges, guarantees the profile matches. On carpet, no pattern fully settles, so the island under equipment should be planned as a dense, heavy zone whose weight disciplines the seams, with the perimeter left free rather than taped to a surface that moves.
Protect the floor under the floor
Finished hardwood wants a protective sheet under rubber or foam, both for finish reactions and trapped moisture. Concrete wants a moisture check: a taped plastic square left overnight reveals vapor that will smell musty under any tile. Solve subfloor problems first; tiles hide them without fixing them.
Worked example: a 10 by 12 room with a lifting corner
Run the guide's steps on an example room: 10 by 12 ft of spare bedroom over finished hardwood, holding a rack, a stored dumbbell set, and deadlift work in one corner. Material by load splits the room before any pack is counted. The lifting corner, roughly 6 by 8 ft, takes dense rubber, because stored dumbbells and dropped deadlifts are the loads the material section assigns to it; the remaining floor, bodies and light gear, takes half inch EVA of the ProsourceFit pattern, 24 by 24 in tiles in 24 sq ft packs. The room math follows: 120 sq ft total, 48 under rubber, 72 under foam, which is three foam packs exactly, plus the guide's 10 percent for cuts and spares argues for a fourth pack while the batch and dye lot are the same. The subfloor section adds its line item, a protective sheet under the rubber zone for the hardwood's sake. Install pattern closes the example: the grid is shifted so the rack's feet land mid-tile rather than on seams, the foam runs wall to wall for the stability the pattern section promises, and a transition edge is ordered in the same batch for the doorway. The result is a two-material floor that costs noticeably less than rubber everywhere and protects like it where protection is actually needed.
FAQ
Interlocking Floor Tiles questions, answered straight
What is the cheapest way to floor a home gym?
Foam puzzle mats on sale, wall-to-wall, with the understanding that the lifting zone will migrate to rubber later. Budget for the two-stage path honestly and the foam stage still saves money versus rubber everywhere.
Are thicker tiles always better?
No. Beyond the comfort your training needs, extra foam thickness costs door clearance, standing-lift stability, and seam discipline. Match thickness to the job using the material guidance above.
How long do interlocking tiles last?
Foam in light use: several years with visible dents at load points. Rubber in home use: five to ten years is a realistic owner-reported span. Hard garage tiles: longest of all, with individual tile swaps for damage.